Tutorial: Realistic stainless steel ring in Photoshop
I’ll show you how I created the steel binding ring for an iPad app. The effect may look complicated but it’s very easy to create.

1. Create the base of the ring using ellipse and rectangle tools.
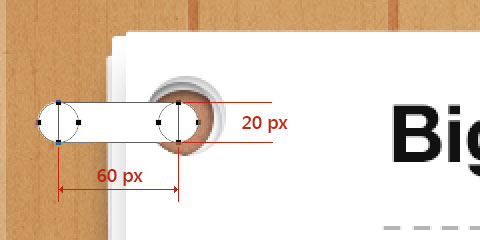
2. Now comes the magic step. Apply the layer styles as shown below.
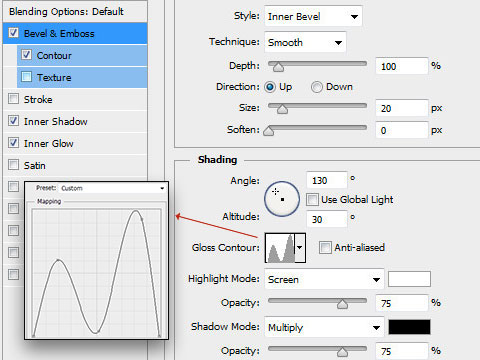
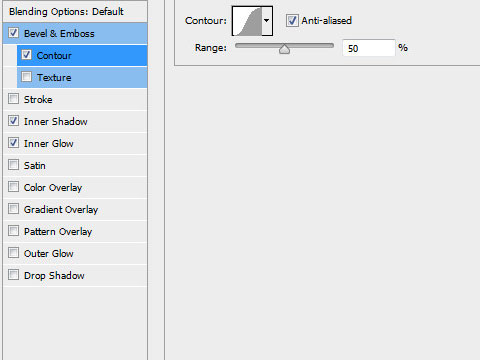
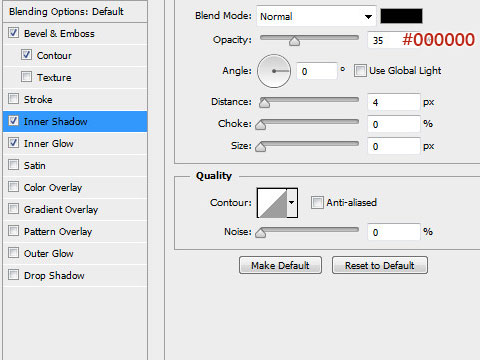
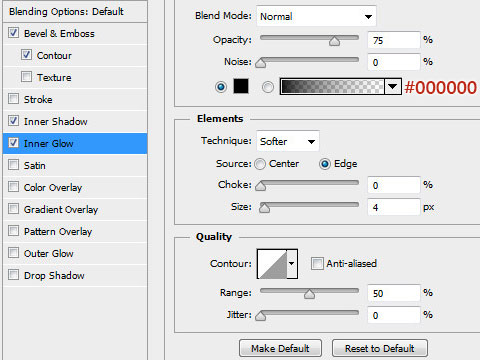
We get this:

3. Now we’ll create the holes into which the binder is clamped to the wooden board. Duplicate the ring layer and delete the rectangular path shown below.
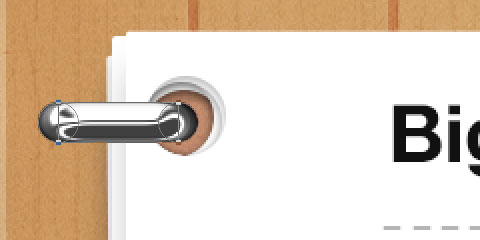
We get this:
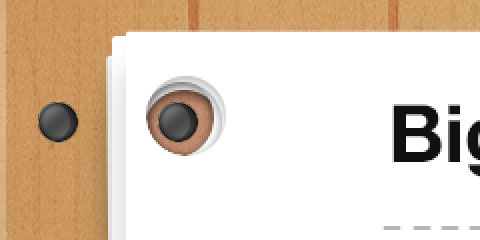
4. Apply the following layer styles:
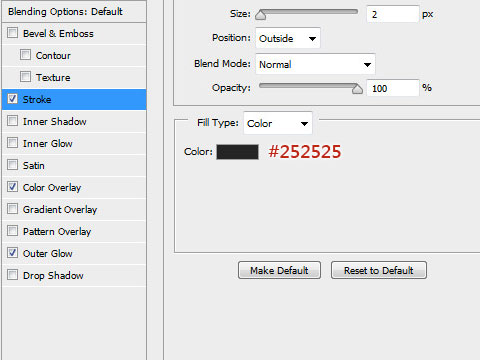
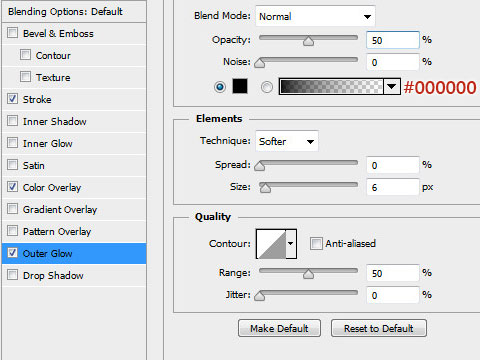
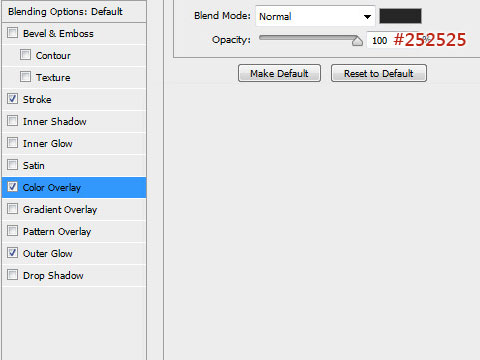
We get this:

5. Now we’ll create the shadow of the ring. Use rectangle and ellipse tools to create the shape shown below.
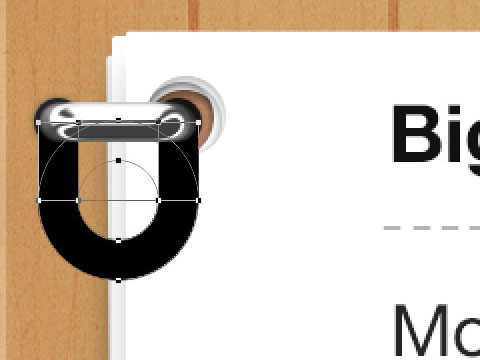
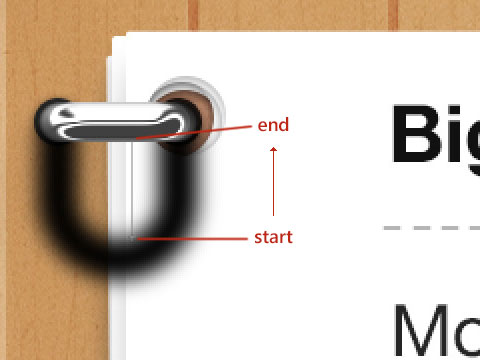
6. Convert the layer to smart object and apply 5 px Gaussian Blur. Now to create a diffused effect, create a layer mask and apply a black and white gradient with the start and end points as shown below. Reduce the opacity of the layer to 60%
That’s it.

Get notified of new posts
I write only when I really have something to say; when I do so I’ll send one email and that’s it; no spam, no bullshit.